TCLI: Setting up GitHub Actions with TCLI

Description
In this section we will discuss how you can run tcli tasks automatically after committing some cloud application code into GitHub. On GitHub you will find this Actions section:
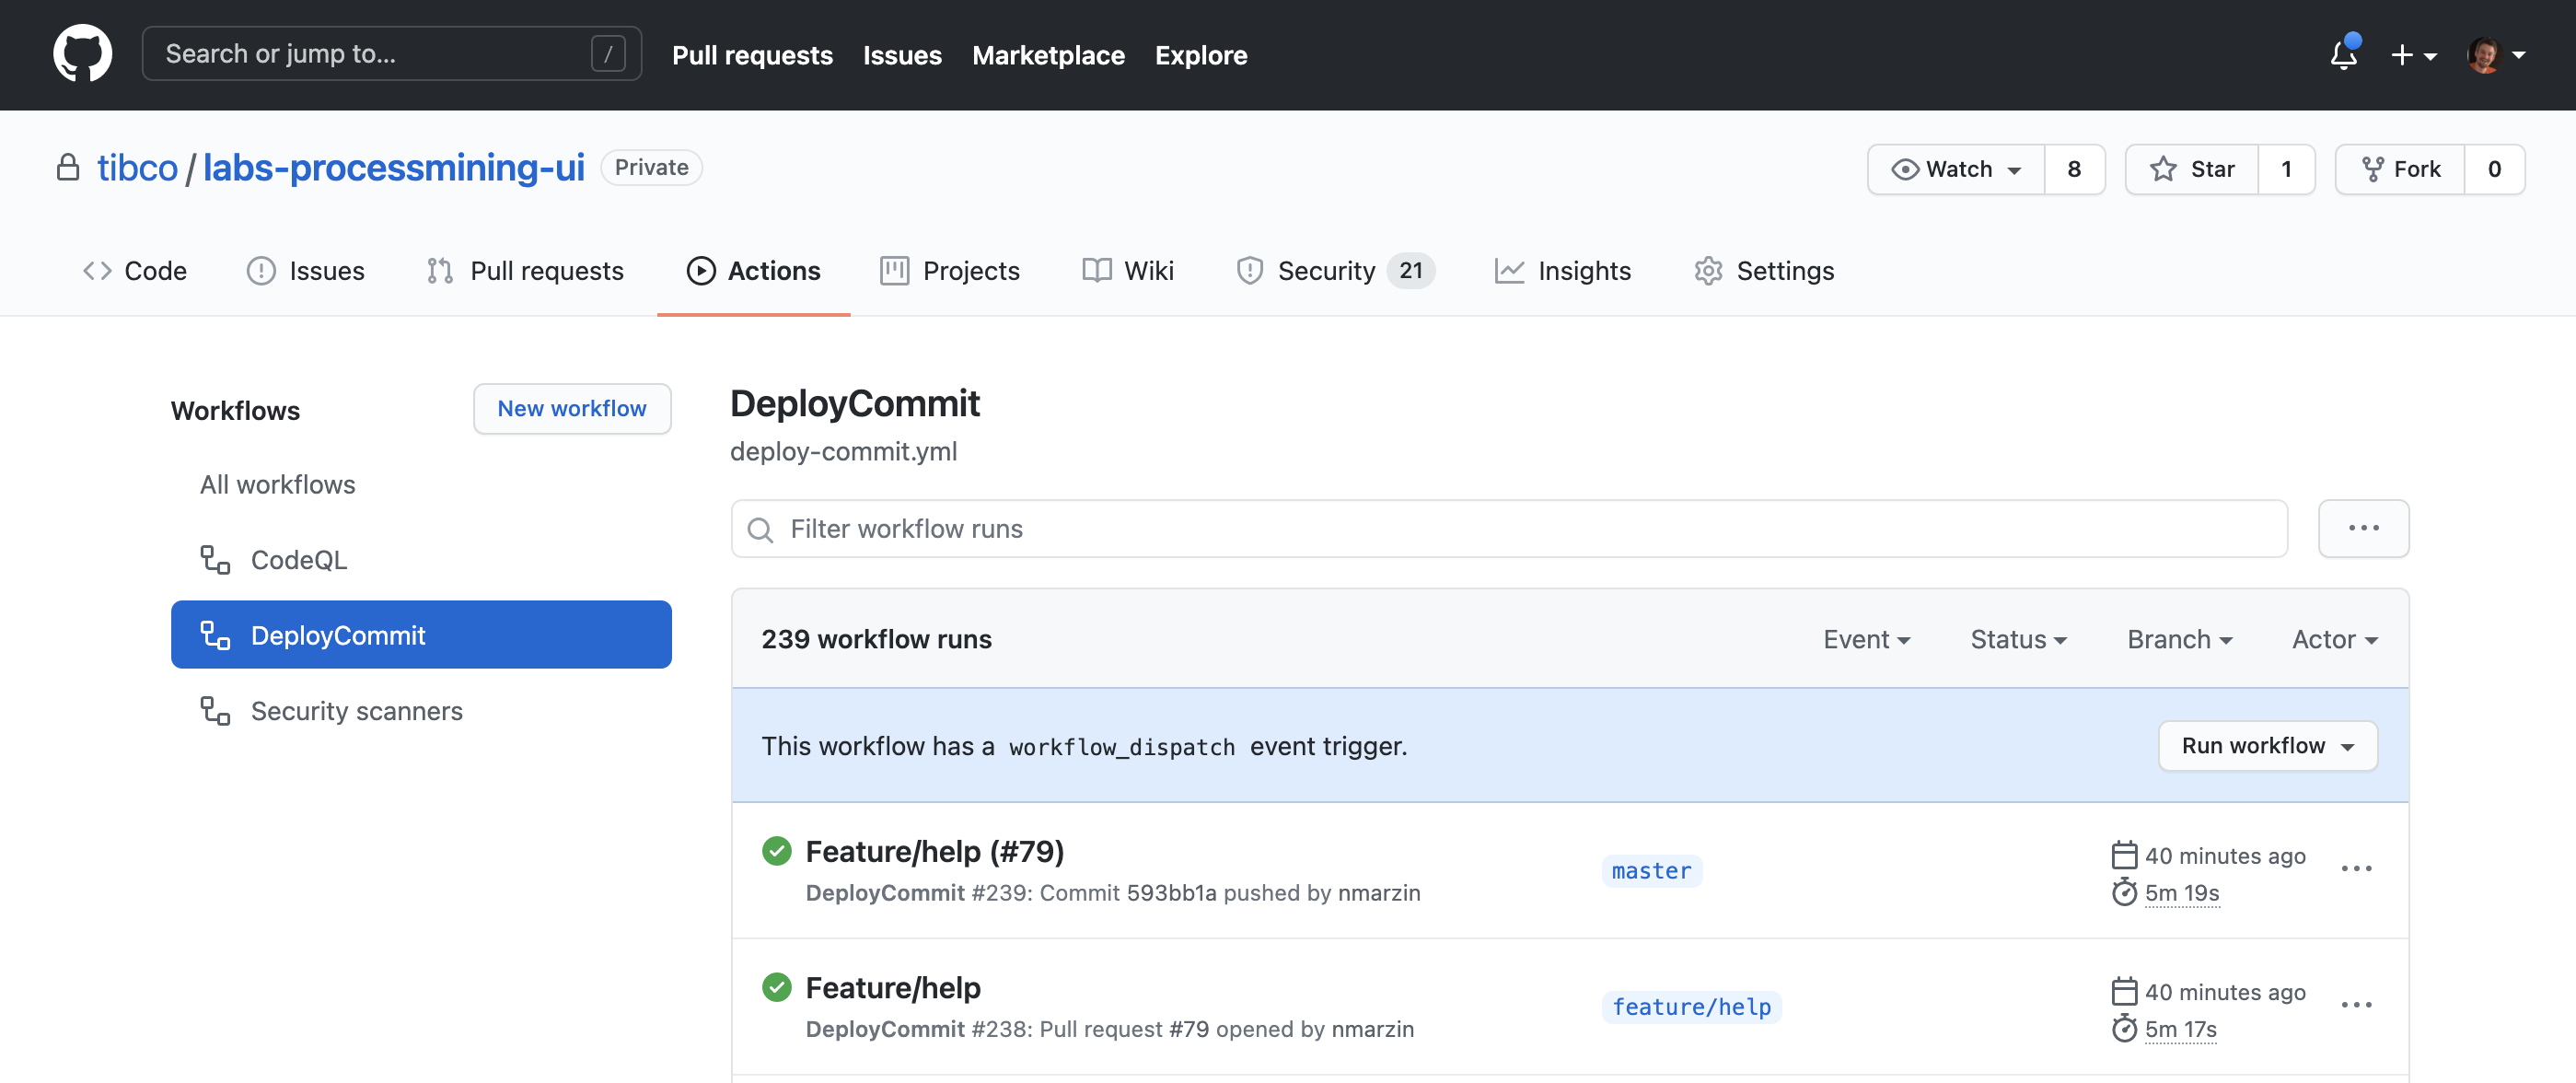
GitHub actions are scripts that run on a container in the cloud or in your own cluster (if configured) to do certain things upon committing of the code.
For more information see the GitHub actions documentation
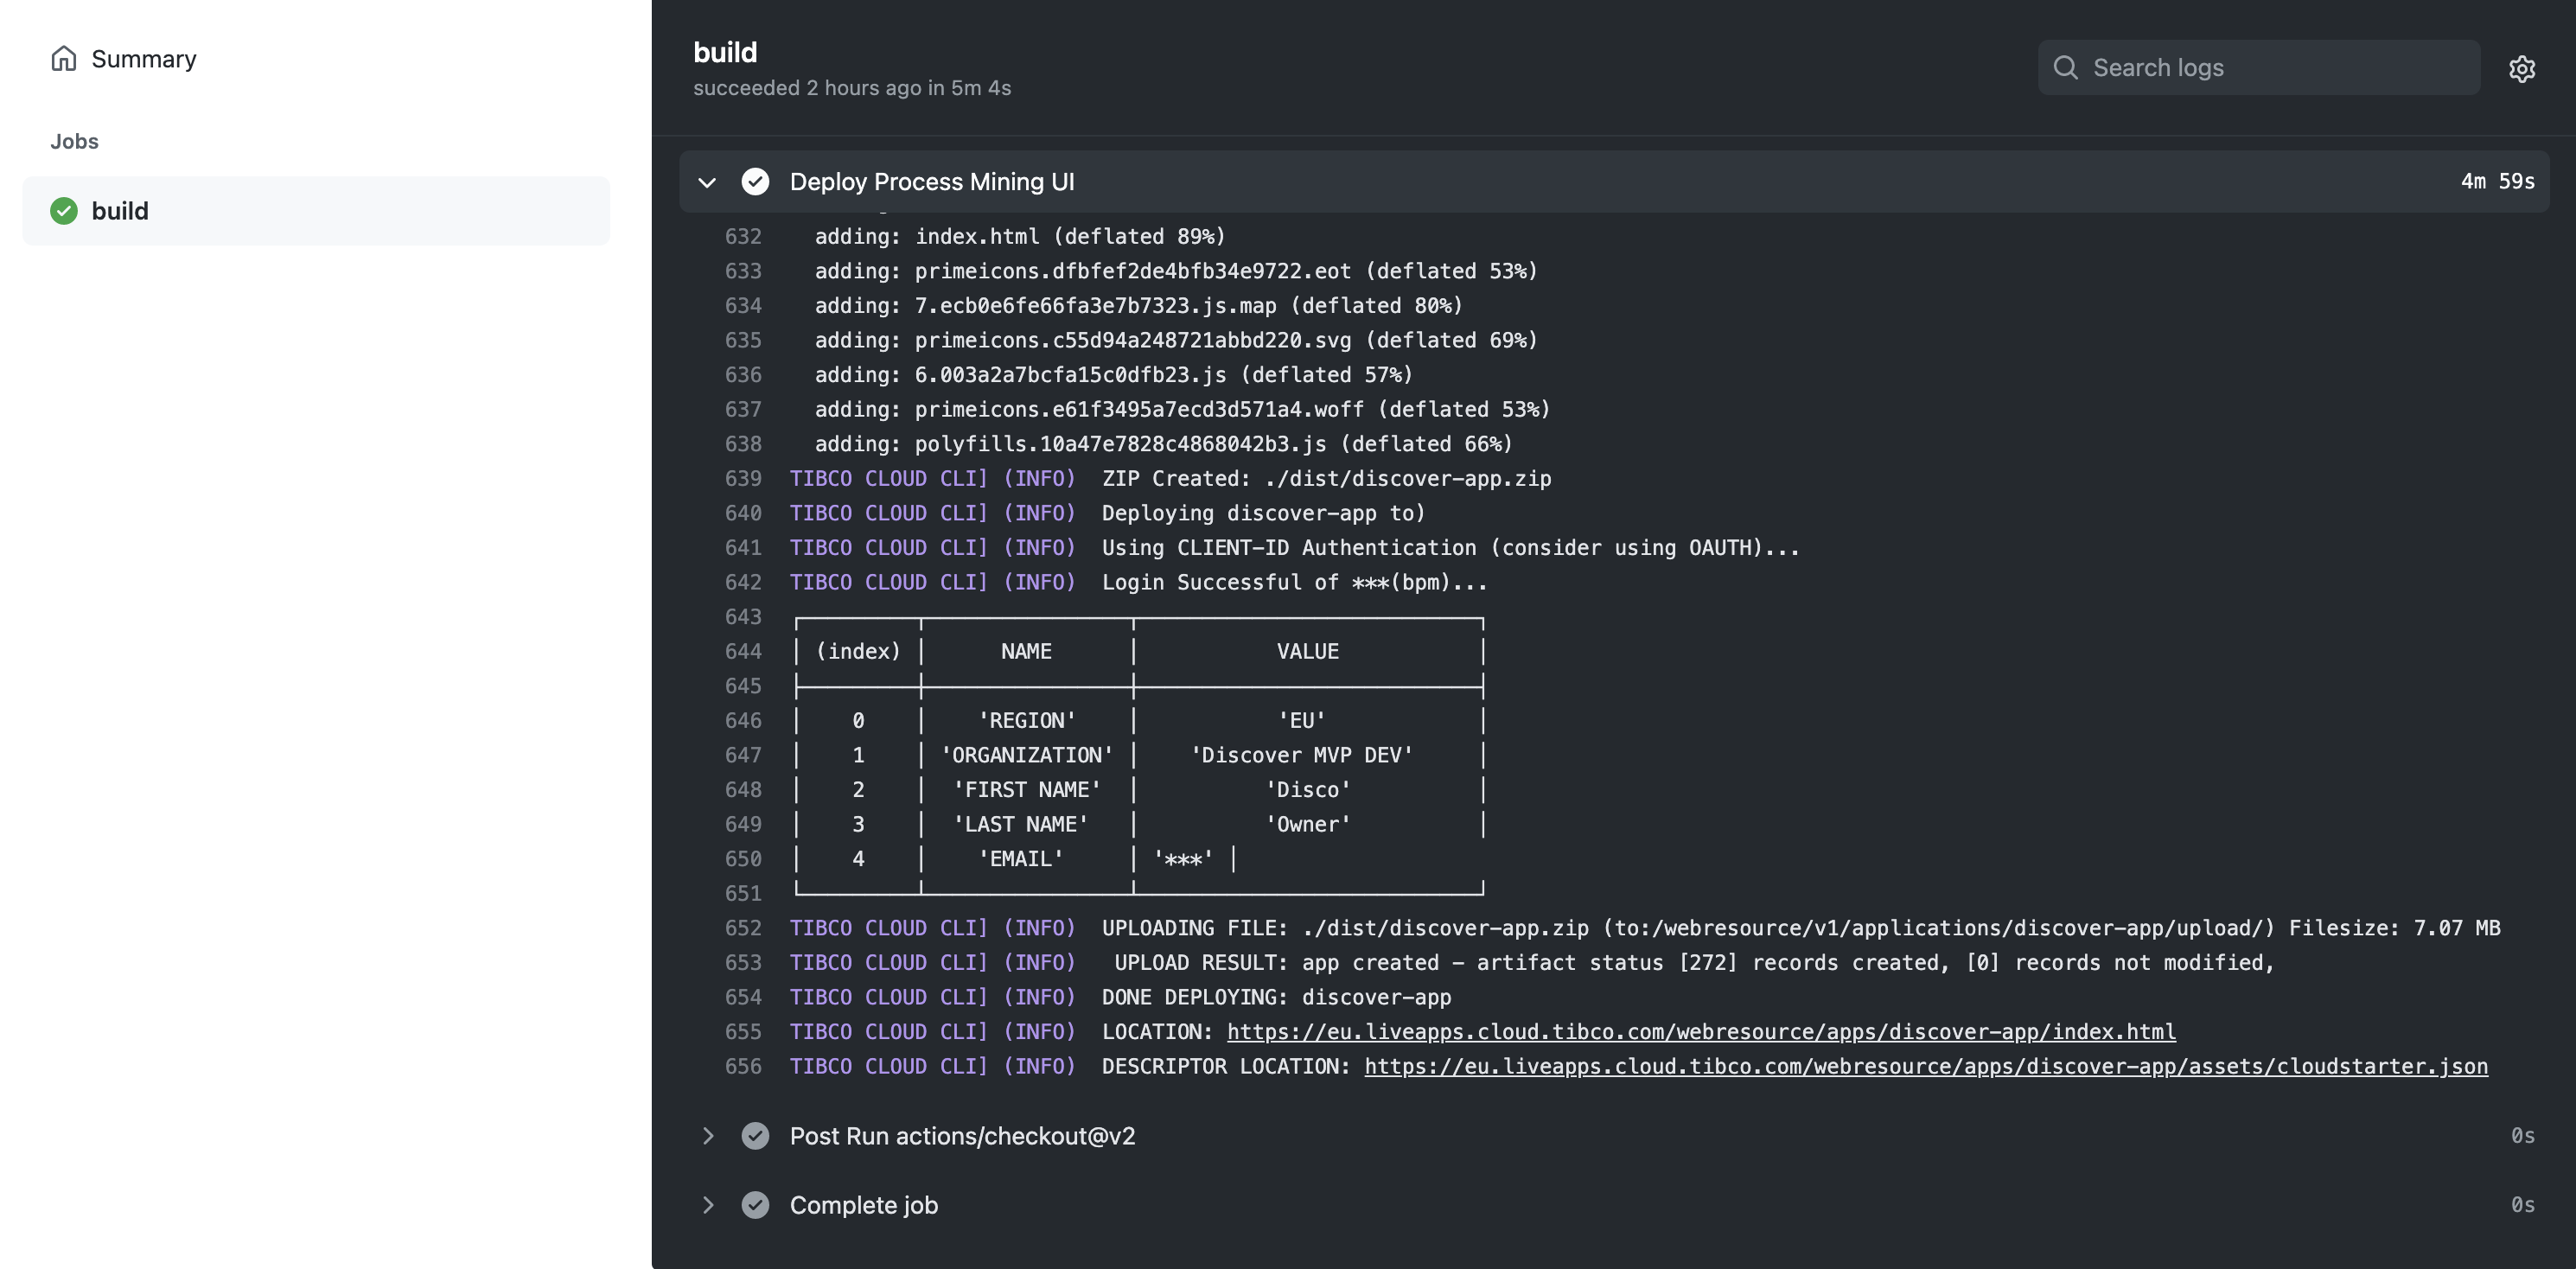
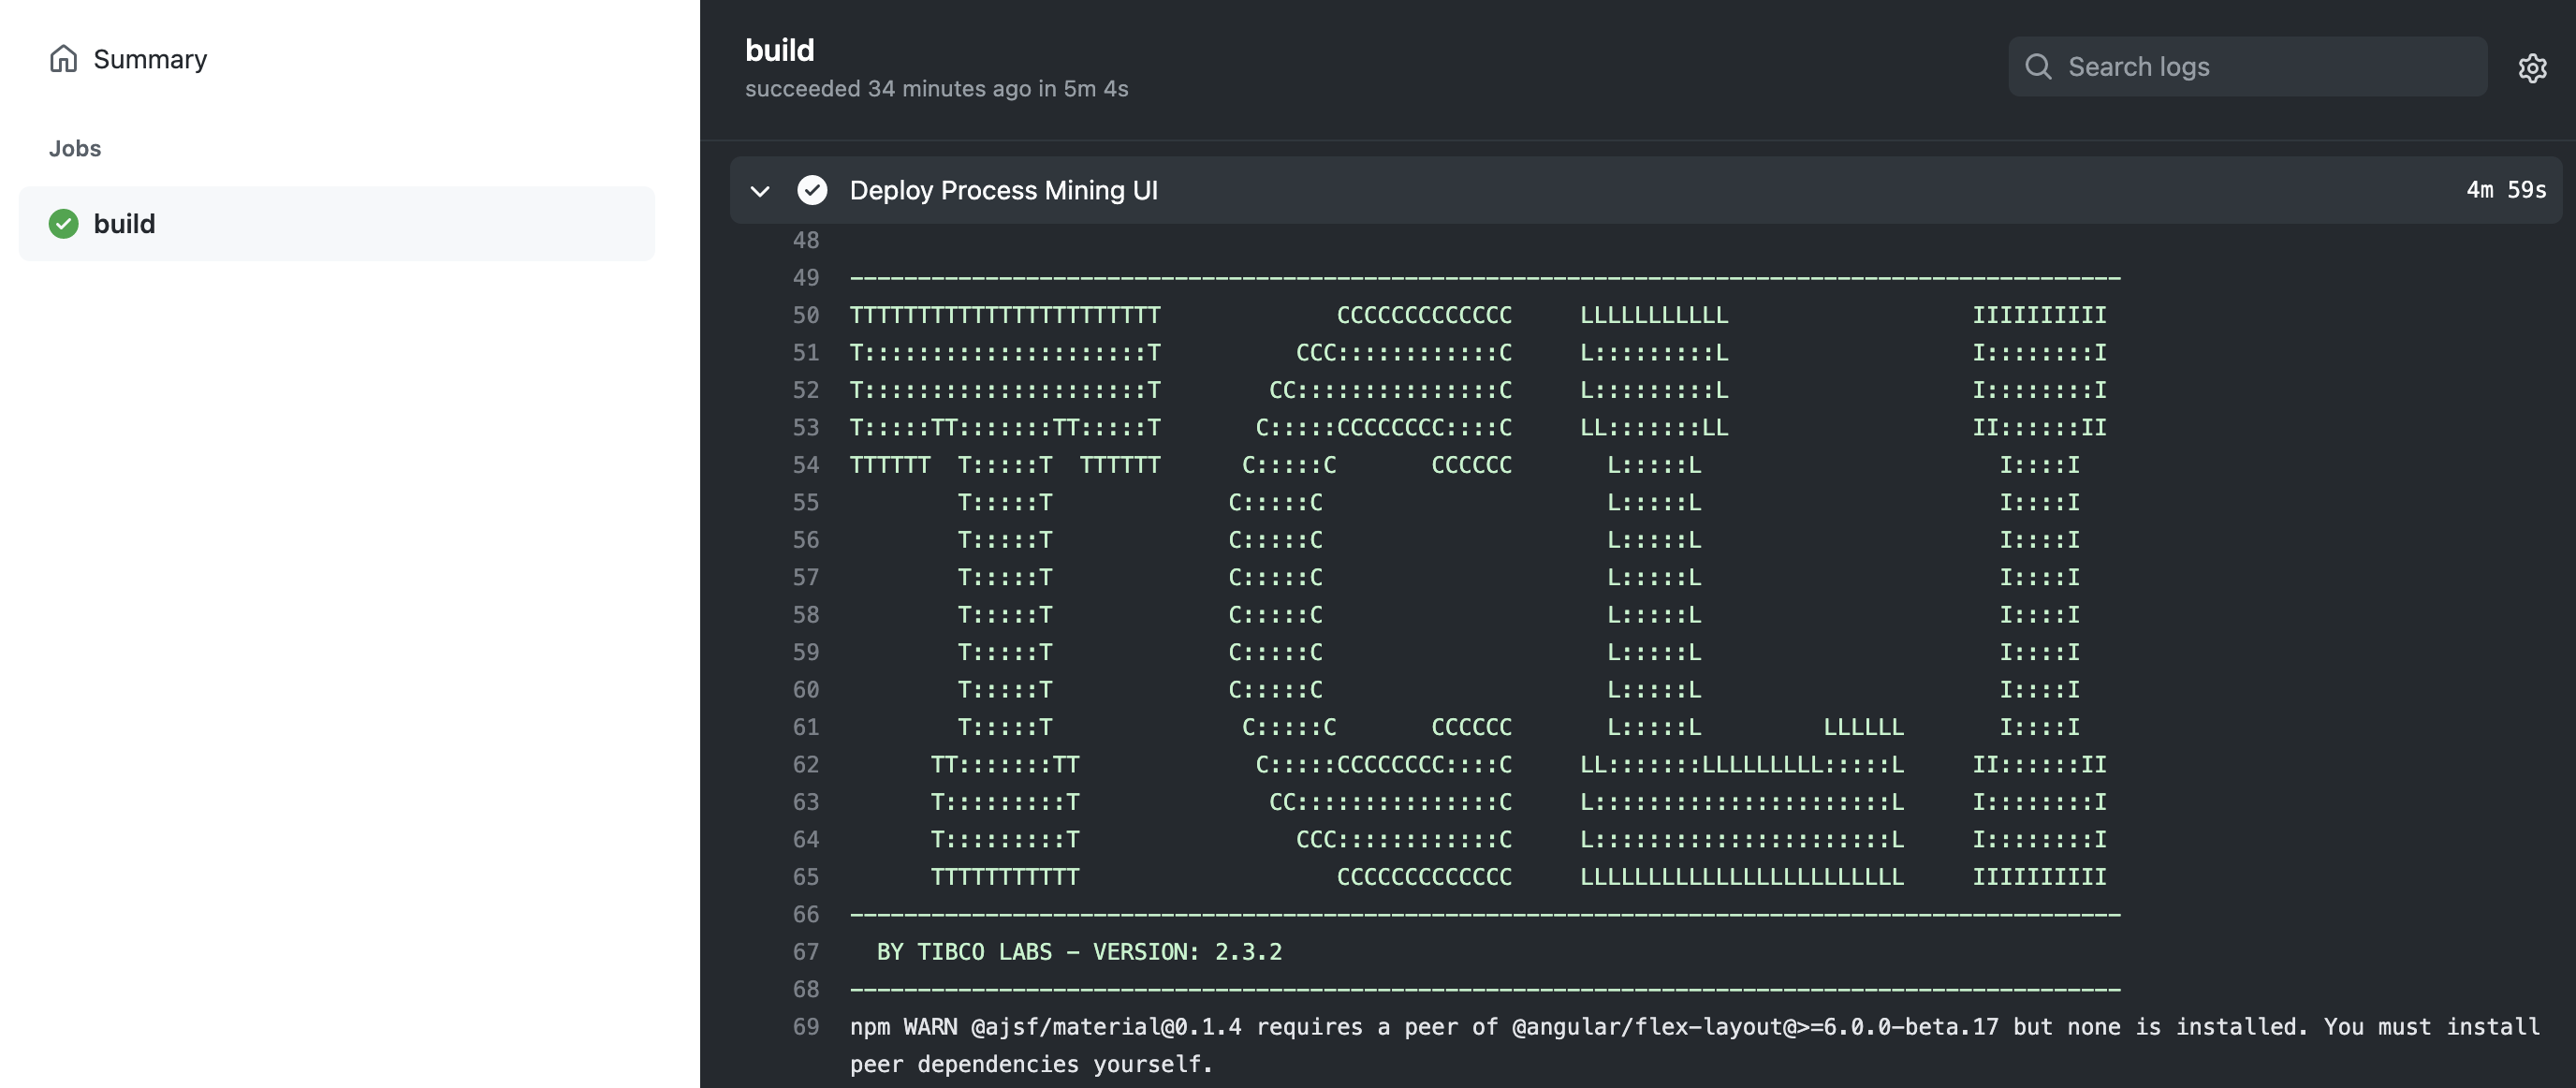
For example you can run the TCLI in a GitHub Action:
Setting up GitHub Actions
We will set up GitHub actions in the following steps
- Create a new property file
- Set up the GitHub action YAML file
- Set up the Secrets on GitHub
- Deploy by Committing
Create a new property file
For this you will need to run the following:
tcli -c -p github-actions.properties
Now clean out the connection properties, like this:
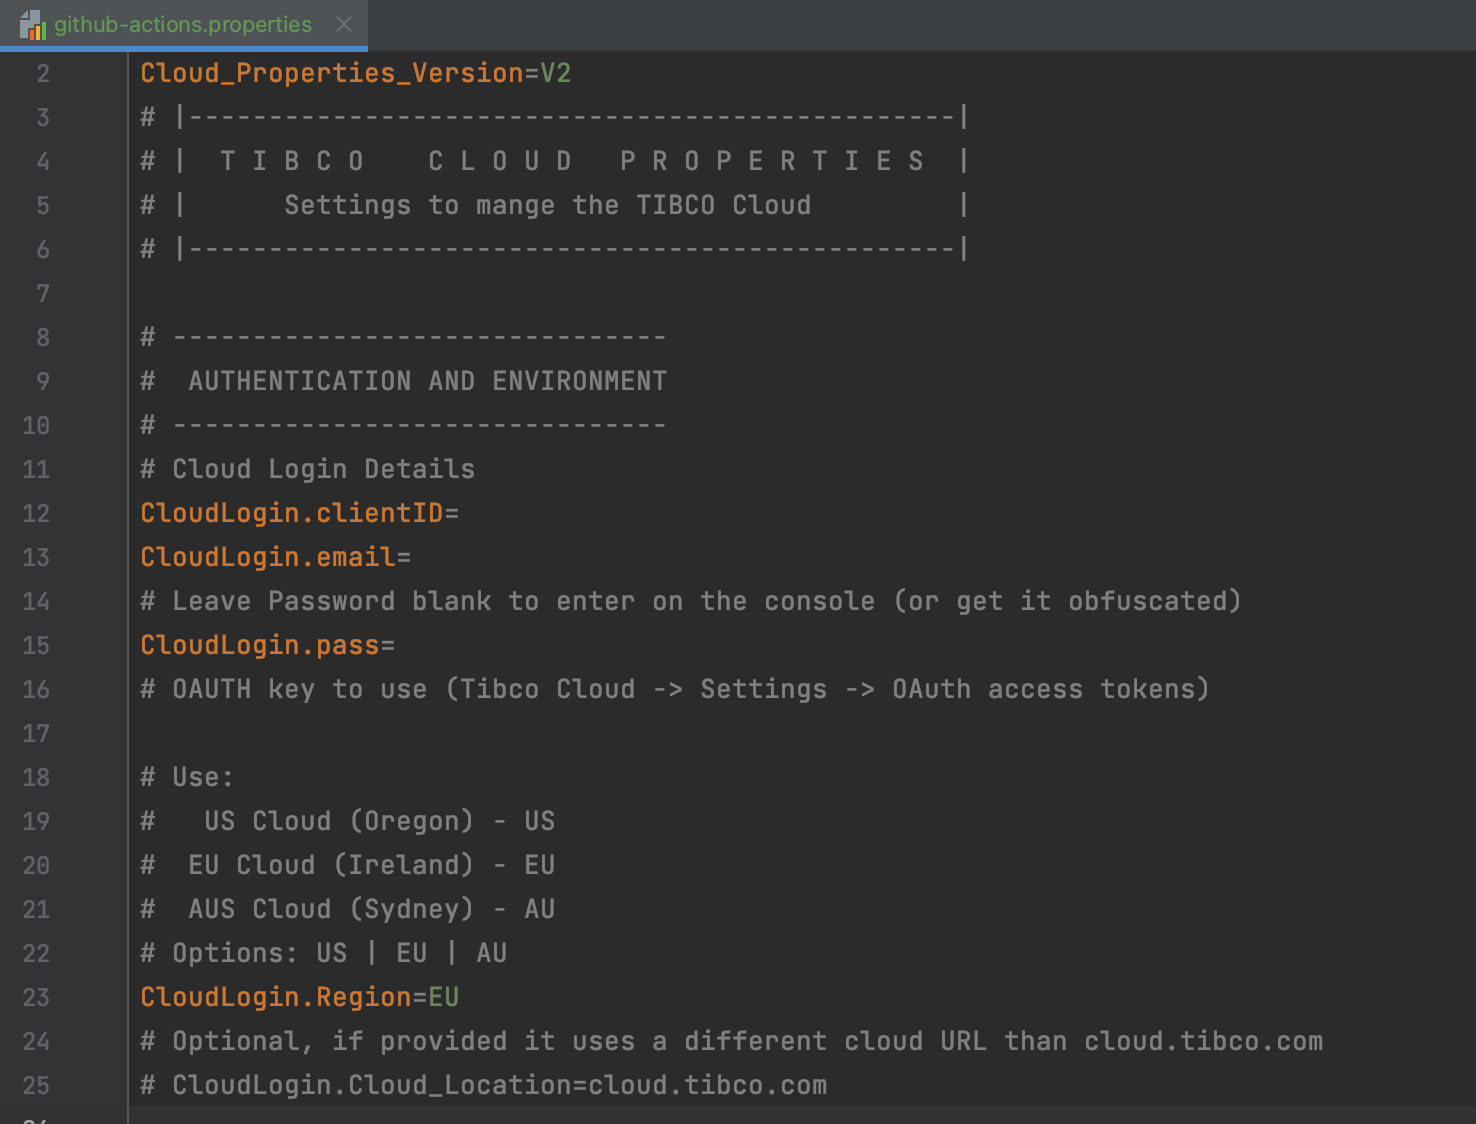
NOTE: You can't use any USE-GLOBAL properties in this file, since they can't be resolved when running the action.
Set up the GitHub action YAML file
Now create a .github folder (if it does not exist) and a workflows subfolder, like this:

And paste the following content:
# This is a basic workflow to deploy a cloud application

name: DeployCloudApplication

# Controls when the action will run.
on:
  # Triggers the workflow on push but only for the master branch
  push:
    branches: [ master ]

  # Allows you to run this workflow manually from the Actions tab
  workflow_dispatch:

# A workflow run is made up of one or more jobs that can run sequentially or in parallel
jobs:
  # This workflow contains a single job called "build"
  build:
    # The type of runner that the job will run on
    runs-on: ubuntu-latest

    # Steps represent a sequence of tasks that will be executed as part of the job
    steps:
      # Checks-out your repository under $GITHUB_WORKSPACE, so your job can access it
      - uses: actions/checkout@v2

      # Runs a set of commands using the runners shell
      - name: Deploy Cloud Application
        env:
          TCLI_EMAIL: ${{ secrets.TCLI_EMAIL }}
          TCLI_CLIENTID: ${{ secrets.TCLI_CLIENTID }}
          TCLI_PASS: ${{ secrets.TCLI_PASS }}
        run: |
          echo DEPLOYING Cloud Application...
          npm install
          npm install --save-dev @tibco-tcstk/cloud-cli
          npx tcli -v
          npx tcli -p github-actions.properties show-properties
          npx tcli -p github-actions.properties add-or-update-property -a DEFAULT:CloudLogin.email:none:$TCLI_EMAIL
          npx tcli -p github-actions.properties add-or-update-property -a DEFAULT:CloudLogin.clientID:none:$TCLI_CLIENTID
          npx tcli -p github-actions.properties add-or-update-property -a DEFAULT:CloudLogin.pass:none:$TCLI_PASS
          npx tcli -p github-actions.properties show-properties
          npx tcli -p github-actions.properties show-cloud
          npx tcli -p github-actions.properties build-deploy-cloud-app
And commit this to GitHub.
The important part is this:
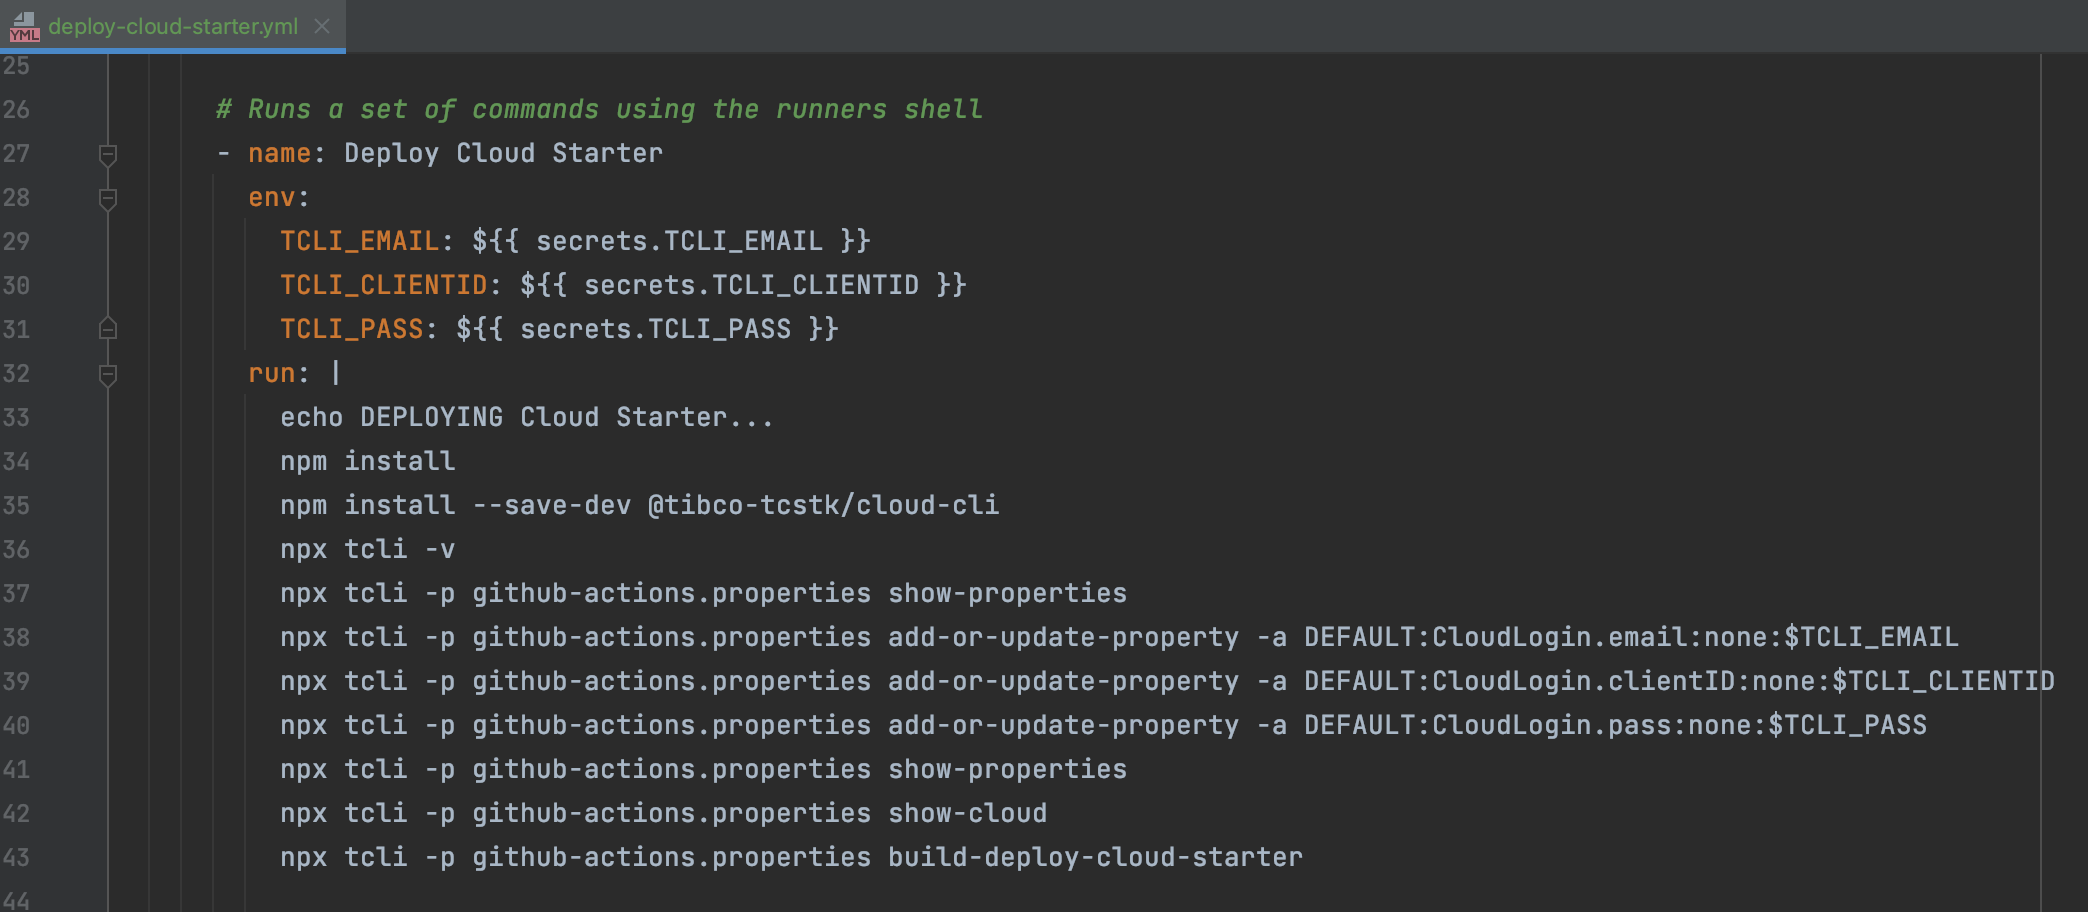
This part basically describes to update the connection settings in the property file and then run a build & deploy command. The connection settings are stored as secrets which we will set in GitHub in the next section.
Set up the Secrets on GitHub
You can set up the secrets in the secrets area under settings:
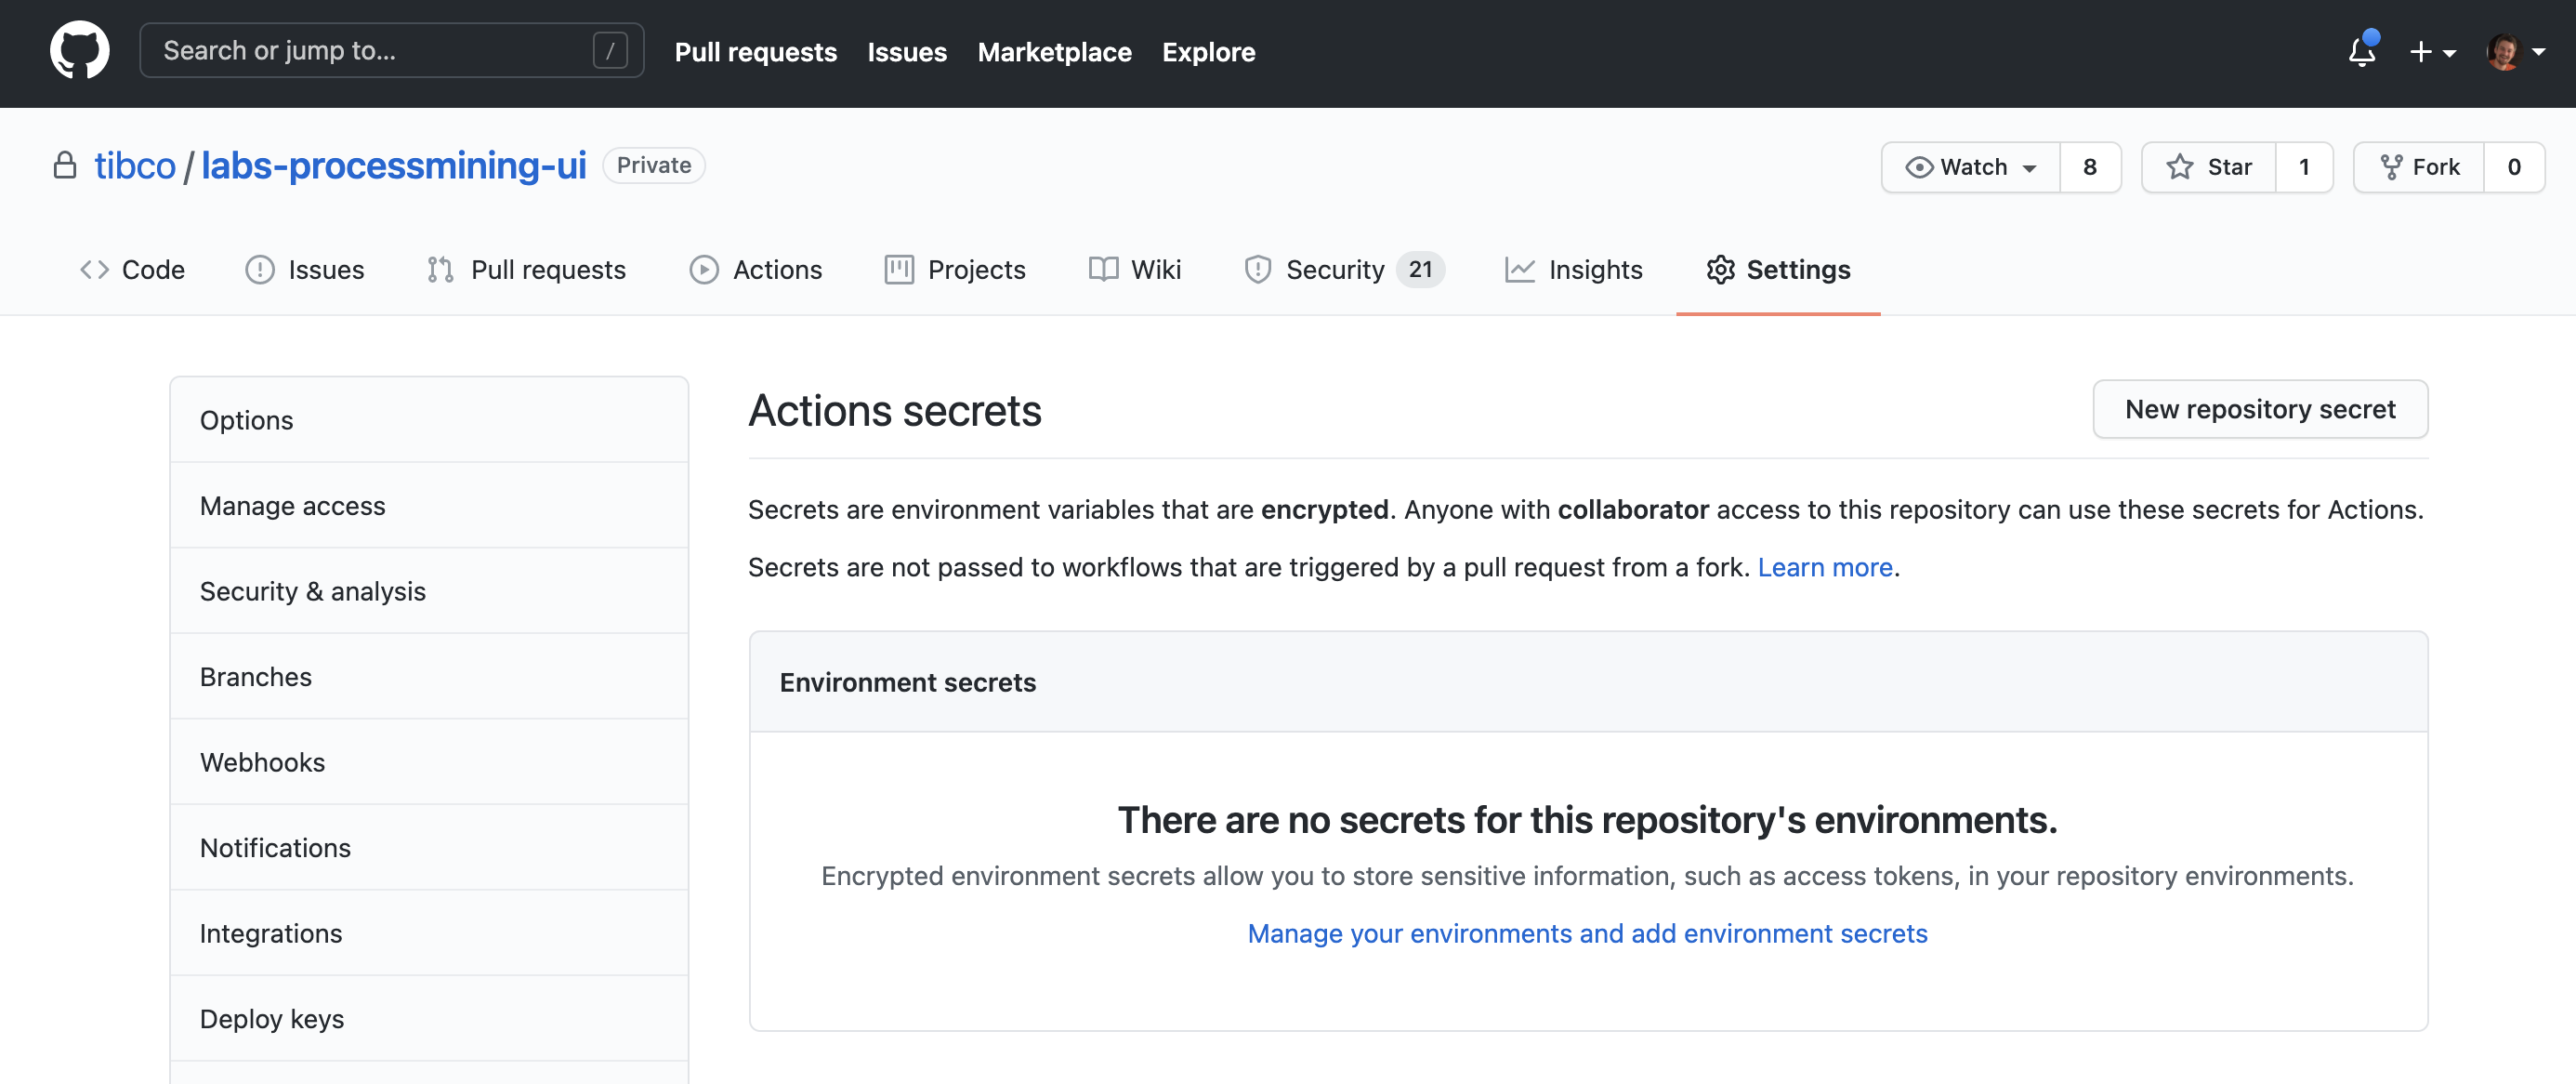
It is important to realize that you can only enter the secrets, you cannot retrieve them. Setup the following secrets, to connect to the TIBCO Cloud:
- TCLI_CLIENTID
- TCLI_EMAIL
- TCLI_PASS

Deploy by Committing
Now when you do a commit, you will see your cloud application getting build and deployed through the action:
