Deployment
How to deploy your App to TIBCO Cloud
Video Link of this Tutorial
Detailed Steps
Build
To make an App ready for Deployment you need to run
npm run build_prod
and a App Zip file is created into the 'dist' Folder.
Note: on Windows you need ZIP the content of the App-Folder currently manually.
Upload
Afterwards the Zip can be uploaded to TIBCO Cloud LiveApps Web Resource Provisioning (WRP) using the Swagger UI delivered within the API Documentation or using Postman.
Web Resource Provisioner Service (WRP) links below (depending on you subscription)
EU POST /applications/{appName}/upload/
US POST /applications/{appName}/upload/
AU POST /applications/{appName}/upload/
Just specify the 'AppName' with the value you specified when creating the app (should be "MyAwesomeCloudStarter") and select the App.zip File.
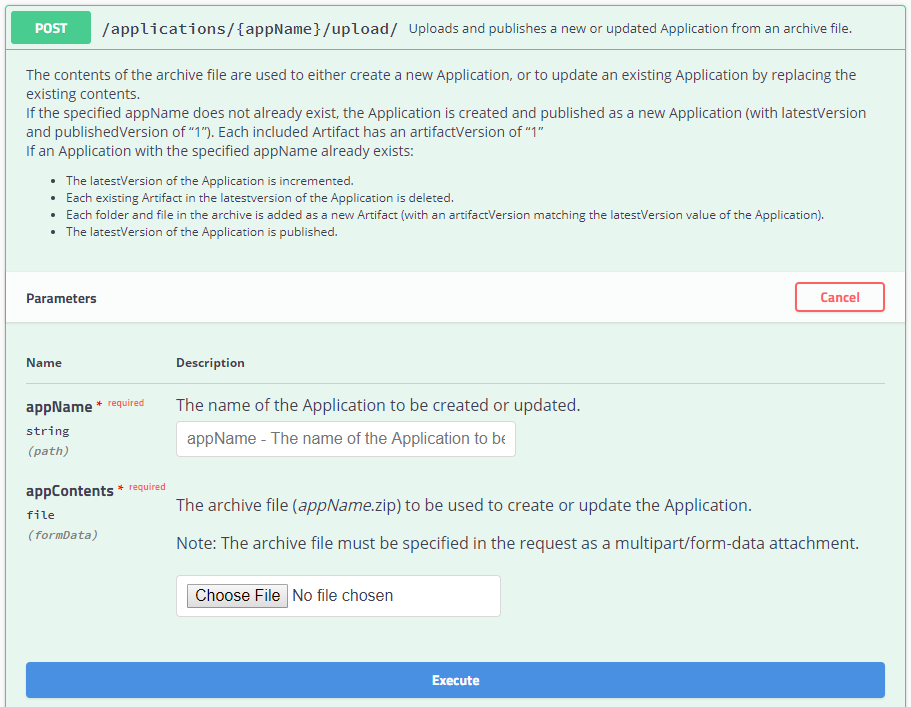
Note: you have to choose the 'AppName' that is configured for your App Build in your 'package.json' e.g. if just pull the 'TCSTK-Case-Manager-App' from GitHub the 'AppName' is "tcstk-case-manager-app"

Alternatively a CLI Tool can be used.
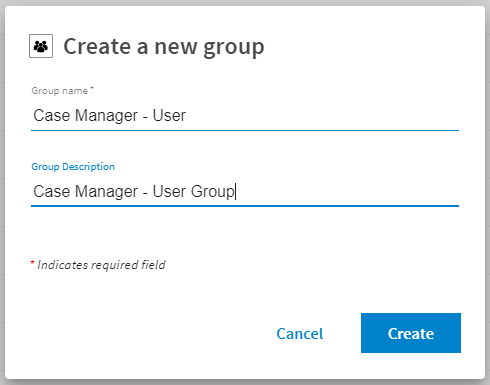
configure Users and Roles
For this Case Manager App two Groups can be configured for the following Roles
- Users (default all Users)
- Administrators (default all Users)
To Limit Access you can create own Groups in the Live Apps Administration UI and grant access from the App Configurator View.
For more Details check 'App Settings', too.
Browse the app
You can now browse the app there. Be care full, this link is static (built on convention) Also, you need to be logged on to the subscription you deployed it to (the login page will appear if you are not logged)
- For EU subscription
https://eu.liveapps.cloud.tibco.com/webresource/apps/{appName}/index.html
- For US subscription
https://liveapps.cloud.tibco.com/webresource/apps/{appName}/index.html