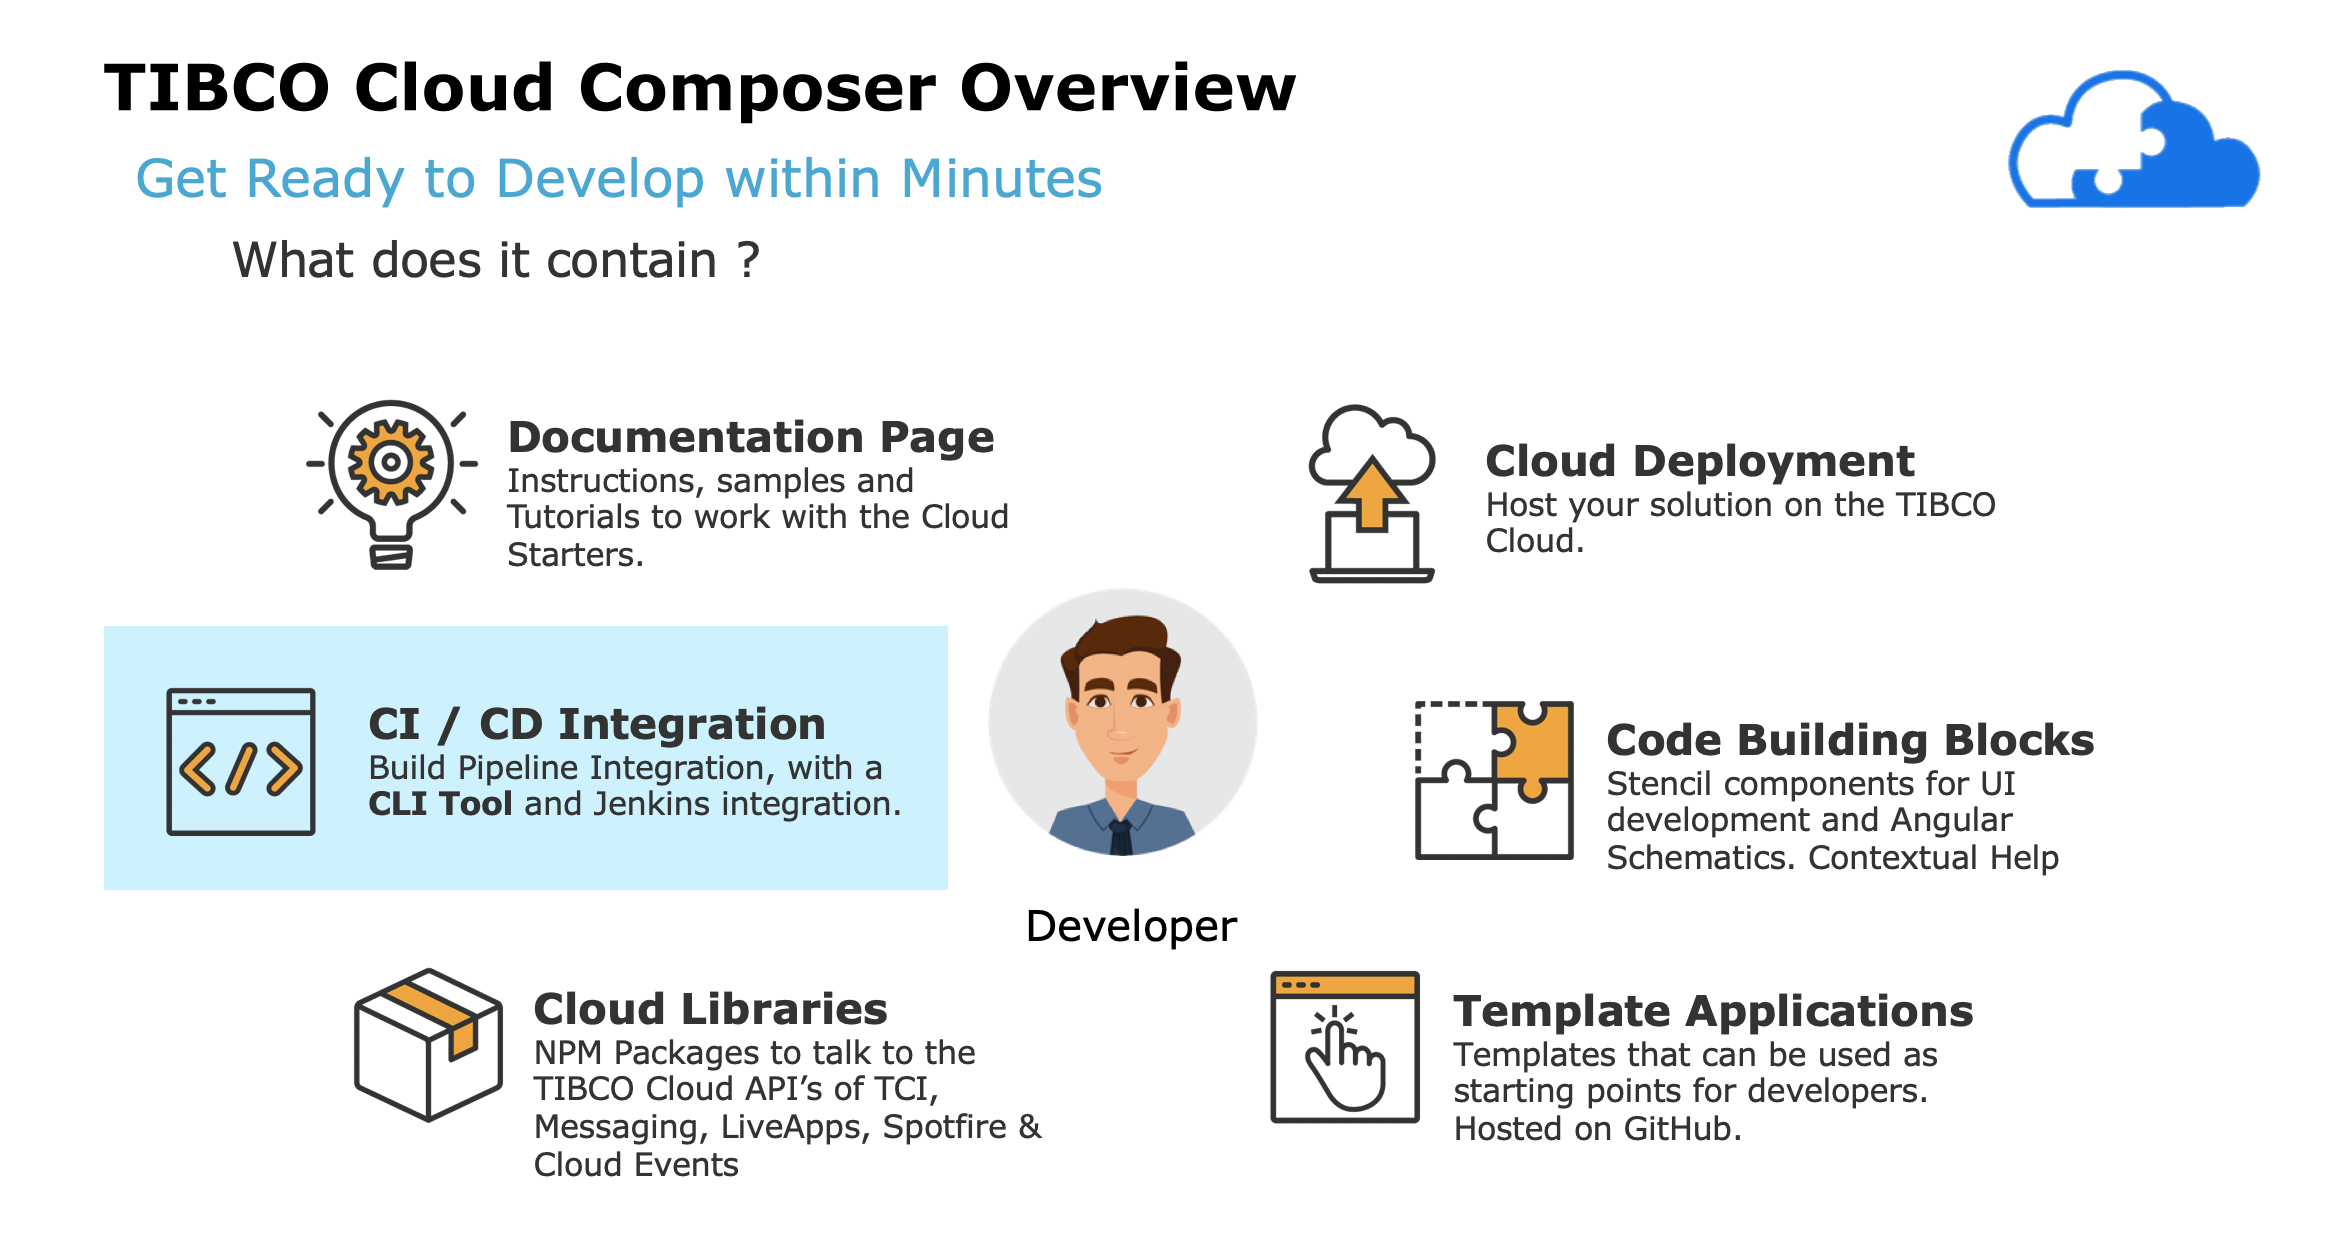
TCLI: Overview
Description
The TIBCO Command Line Interface (TCLI) is a tool that can be run from the command line to manage your Cloud Applications and interact with the TIBCO Cloud. The tool can be used on Windows, Linux or a MAC. By entering commands on a terminal you work interactively (Questions & Answers) or directly by providing the answers inline or from a (property) file. It serves the following use cases:
- Manage your developer environment of a Cloud Application.
- Interact and Manage your Cloud Application on the TIBCO Cloud.
- Support certain operations in your TIBCO Cloud Organization.
- Execute repeatable deployment, management, monitoring and testing tasks.
- Integrate with a Continuous Integration Build pipeline
Prerequisites
The TCLI works based on Node.js, which can be downloaded from here. You can check your node installation by running one of the following commands:
node -v
npm -v
Since a TIBCO Cloud Application is an Angular Application, you will need the Angular CLI. After you have installed Node.js, you can install the Angular CLI with the following command:
npm install -g @angular/cli
Installation
Use the following command to install the TCLI:
npm install -g @tibco-tcstk/cloud-cli
You can validate your installation by running:
tcli -v
This should print the version of the TCLI that you are using.
Help
When running the TCLI you can always request help by running the following command:
tcli help
Or get help on a specific task, by running:
tcli help <TASK-NAME>
This can also be shorted with -h, for example:
tcli -h show-cloud
Getting Started
The best is to create a new empty folder on your machine and go there with a terminal. But you can run from any folder if you like. When you start the TCLI by just running:
tcli
Without any additional options the command line tool will look for a file called 'tibco-cloud.properties'. If this file is not found you get 4 options:
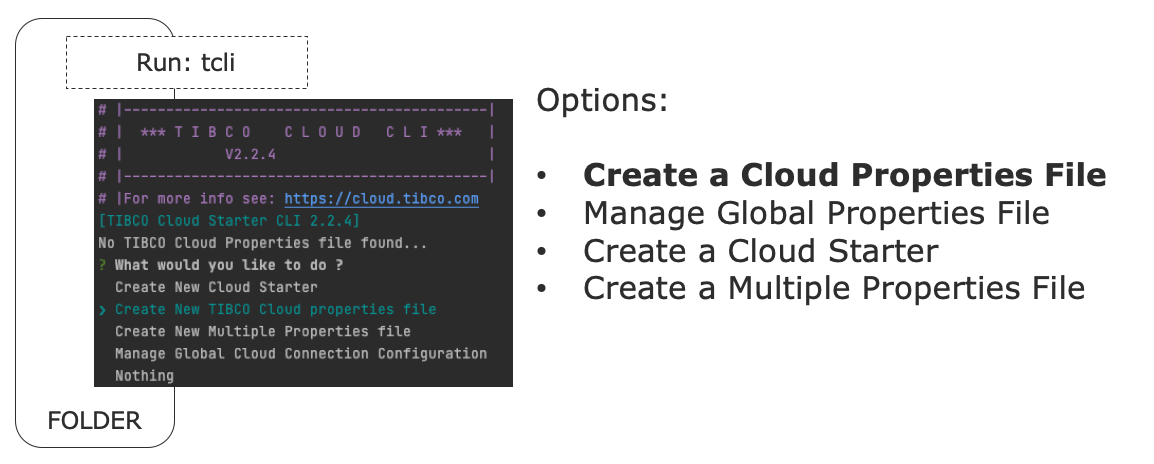
To get started just choose to create a new property file. The tcli will ask you for your Client ID and login details to the TIBCO Cloud to create an OAUTH Token. Get your client ID from https://cloud.tibco.com/ -> Settings -> Advanced Settings -> Display Client ID. If you have a global configuration already setup the tcli will use that configuration for the connection details. Read more about Global Configuration here: Global Configuration
Note: You can also run to use or create a tibco cloud property file with a different name:
tcli -p <PROPERTY-FILE-NAME>
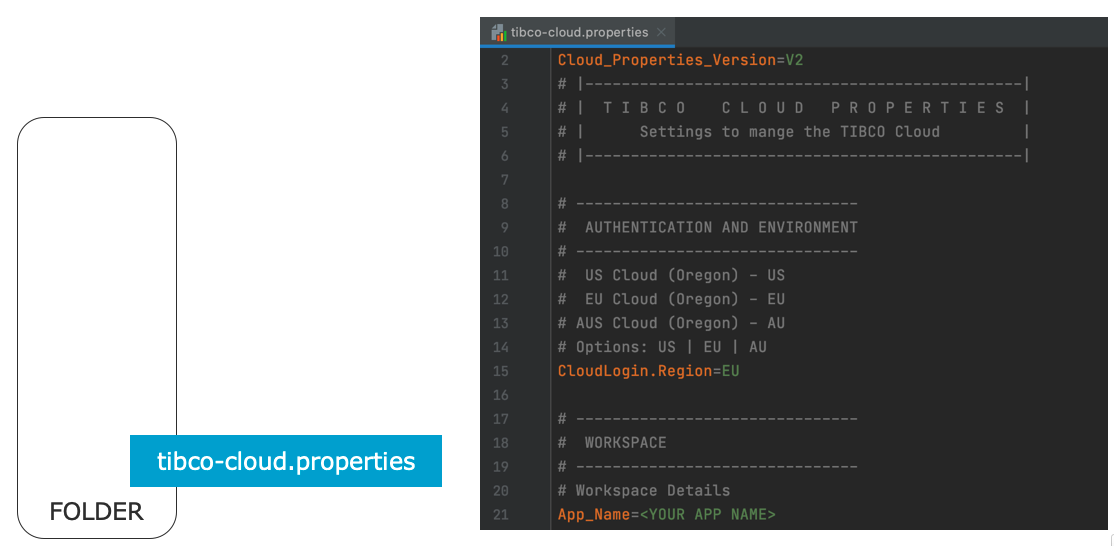
A property file is generated, which contains information for the tcli to do it's work:
After the property file is generated you will get into an interactive menu with a list of tasks:
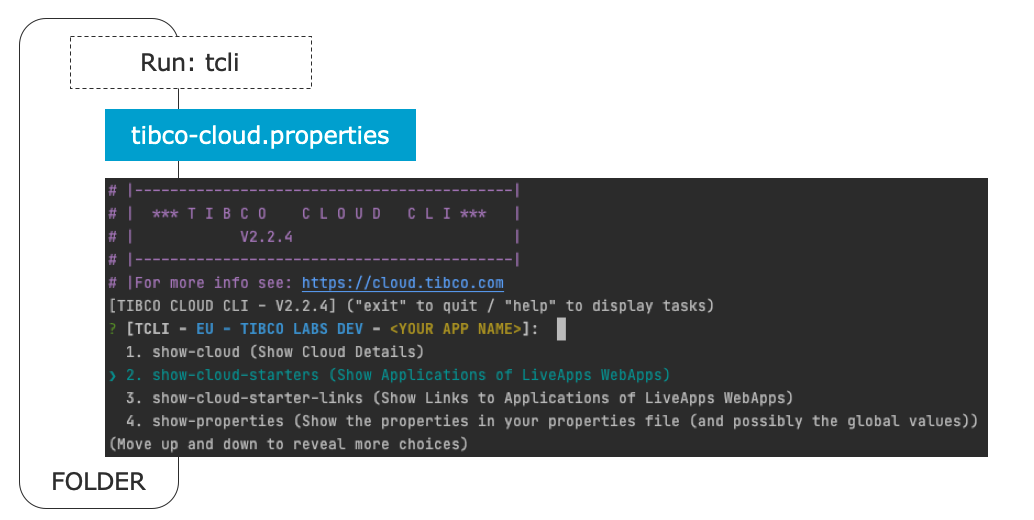
All subsequent times you run tcli in this folder you will get into this menu. From here you can choose any of the tasks to run. You can start typing in this menu to search within the available tasks and their descriptions. But you can also use the up and down arrows to scroll through them. Press enter to run a task, for example the first one show-cloud. Running this task also validates that the tcli can actually connect with the TIBCO Cloud and shows the connected organization. The results looks somewhat like this:
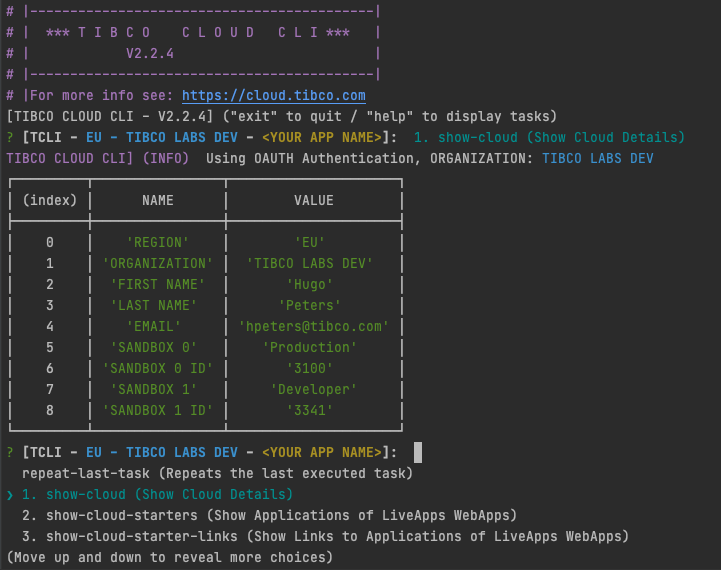
Note: After running a task you can always press up and run repeat-last-task to re-run the task you just run. This is very handy, to quickly repeat a task.
You can also run a task directly without getting into the interactive menu, by running:
tcli <TASK-NAME>
Note: You can make this direct task completely verbose (non-interactive) by providing answers inline. Click here for more information about providing answers
For example:
tcli show-cloud-app-links

Certain tasks also have an alternative short name, for example
tcli sl
You can find these Alternatives in the help description of a task:
tcli -h show-cloud-app-links
Now you are ready to setup your own Cloud Application